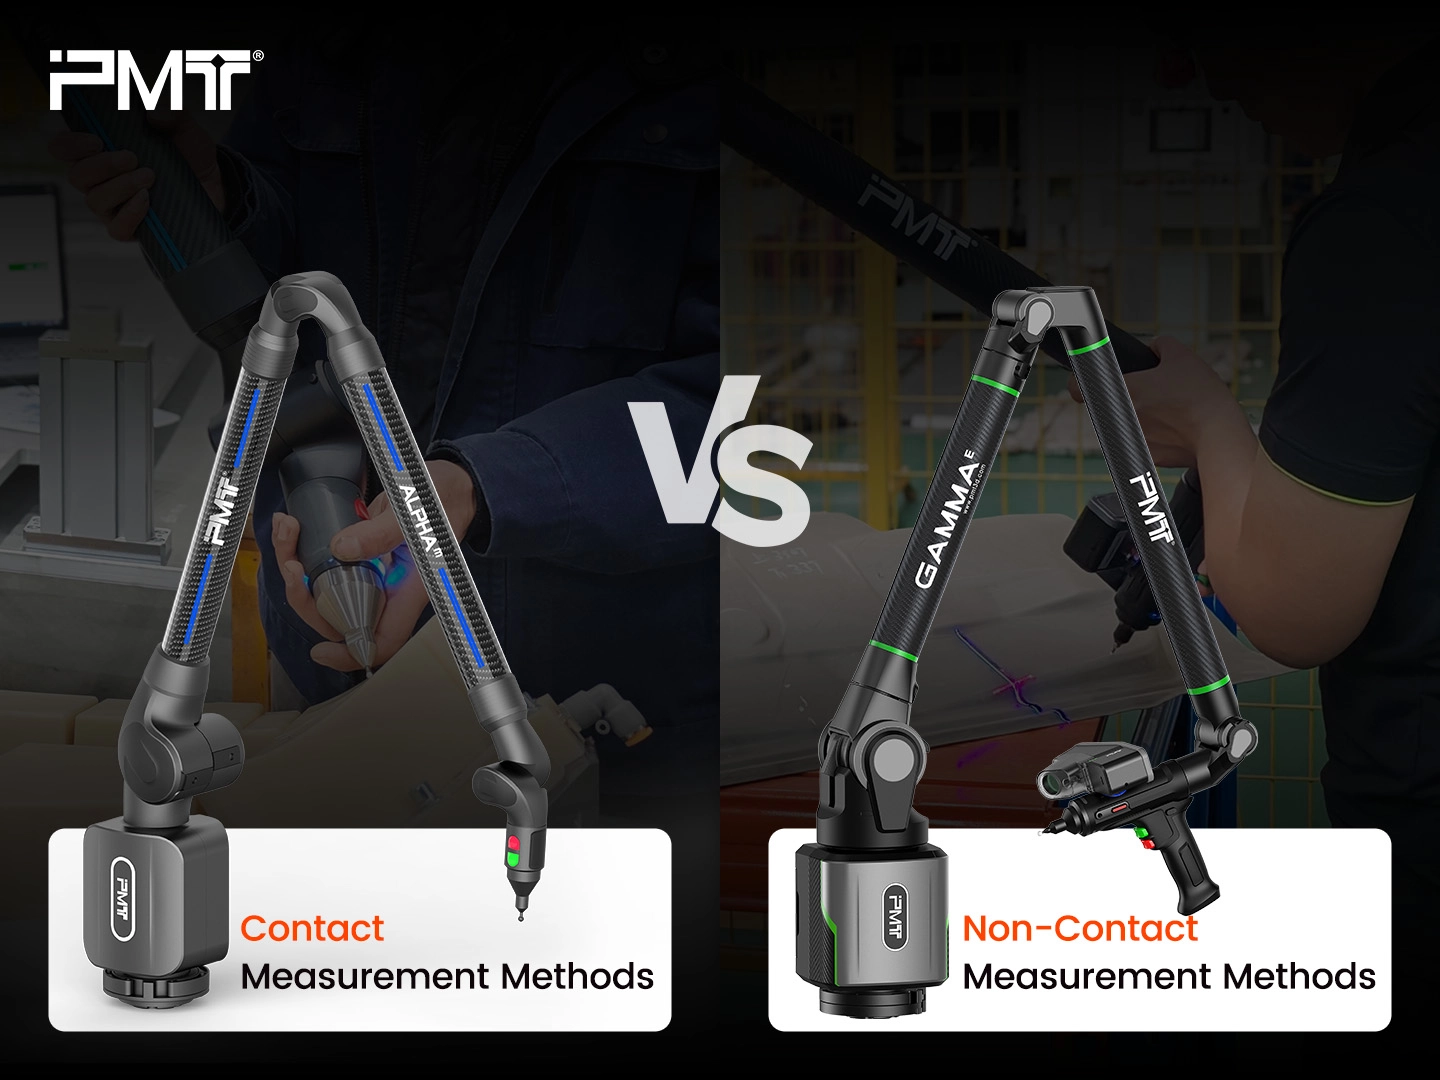
In industrial metrology systems like measuring arms (portable CMMs), both contact and non-contact measurement methods play essential roles. Each approach has its own advantages, limitations, and areas of application. Understanding the differences between these two techniques helps companies choose the right tools, improve accuracy, and ensure efficient quality control.
Introduction to Measurement Methods
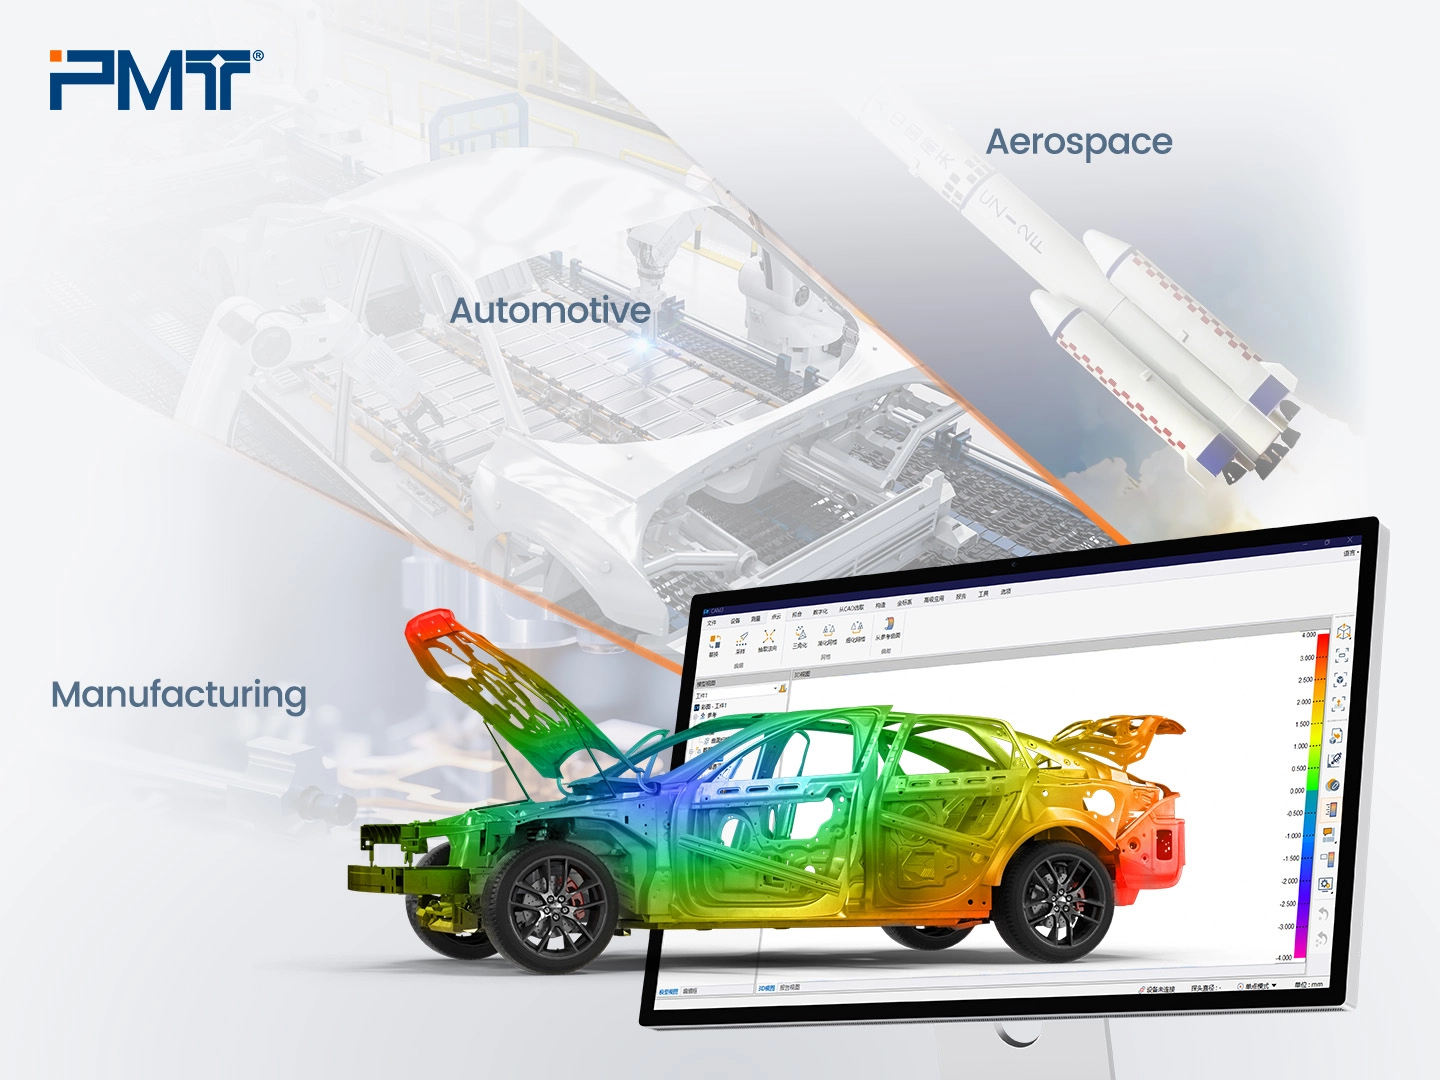
Measurement methods are used to capture the size, shape, and surface characteristics of an object. They are essential in industries such as manufacturing, automotive, aerospace, and electronics, where quality and precision are critical. While both contact and non-contact methods aim to deliver accurate results, their working principles and applications are very different.
What is Contact Measurement?
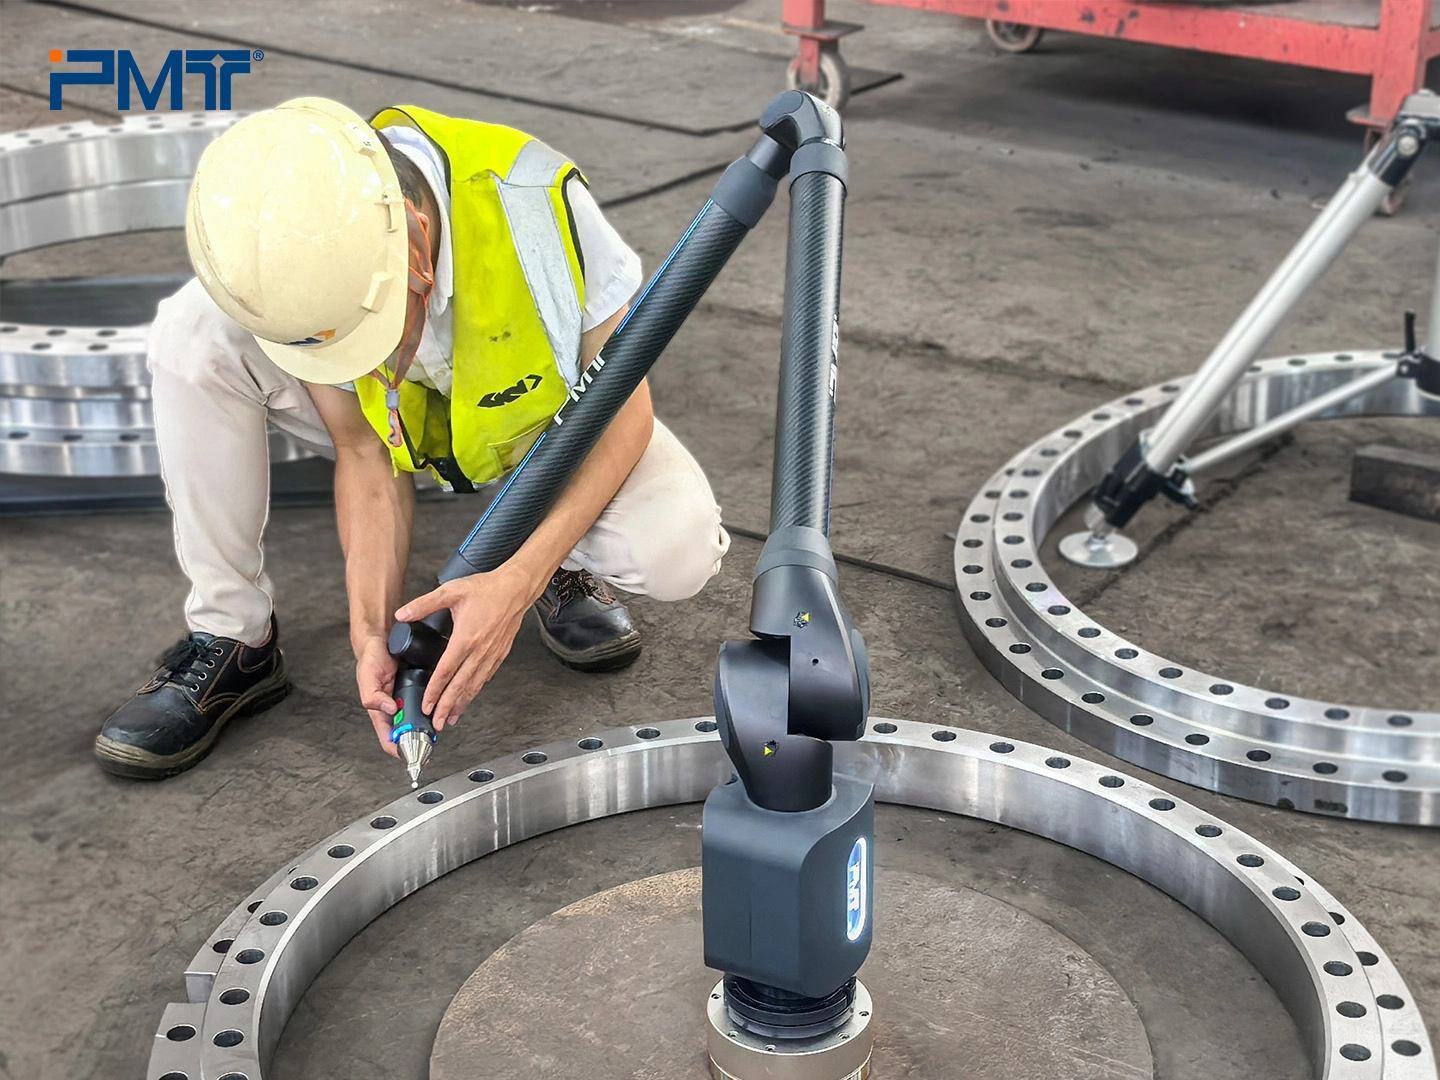
Contact measurement is a method in which a physical probe touches the object to record its dimensions. The most common example is the coordinate measuring machine (CMM), where a probe makes direct contact with specific points on the part. Portable measuring arms also use this principle to capture 3D data. This approach is valued for its high accuracy and reliability, especially when checking geometric tolerances.
Unlike traditional coordinate measuring machines (CMMs), measuring arms typically use zircon ball probes, while ruby ball probes may deliver superior performance in specific measurement scenarios. This versatility contributes to their ease of use and operational flexibility.
It should be noted that contact measurement with a measuring arm requires direct physical contact with the surface, which makes it less ideal for measuring delicate, deformable, or highly curved components.
What is Non-Contact Measurement?
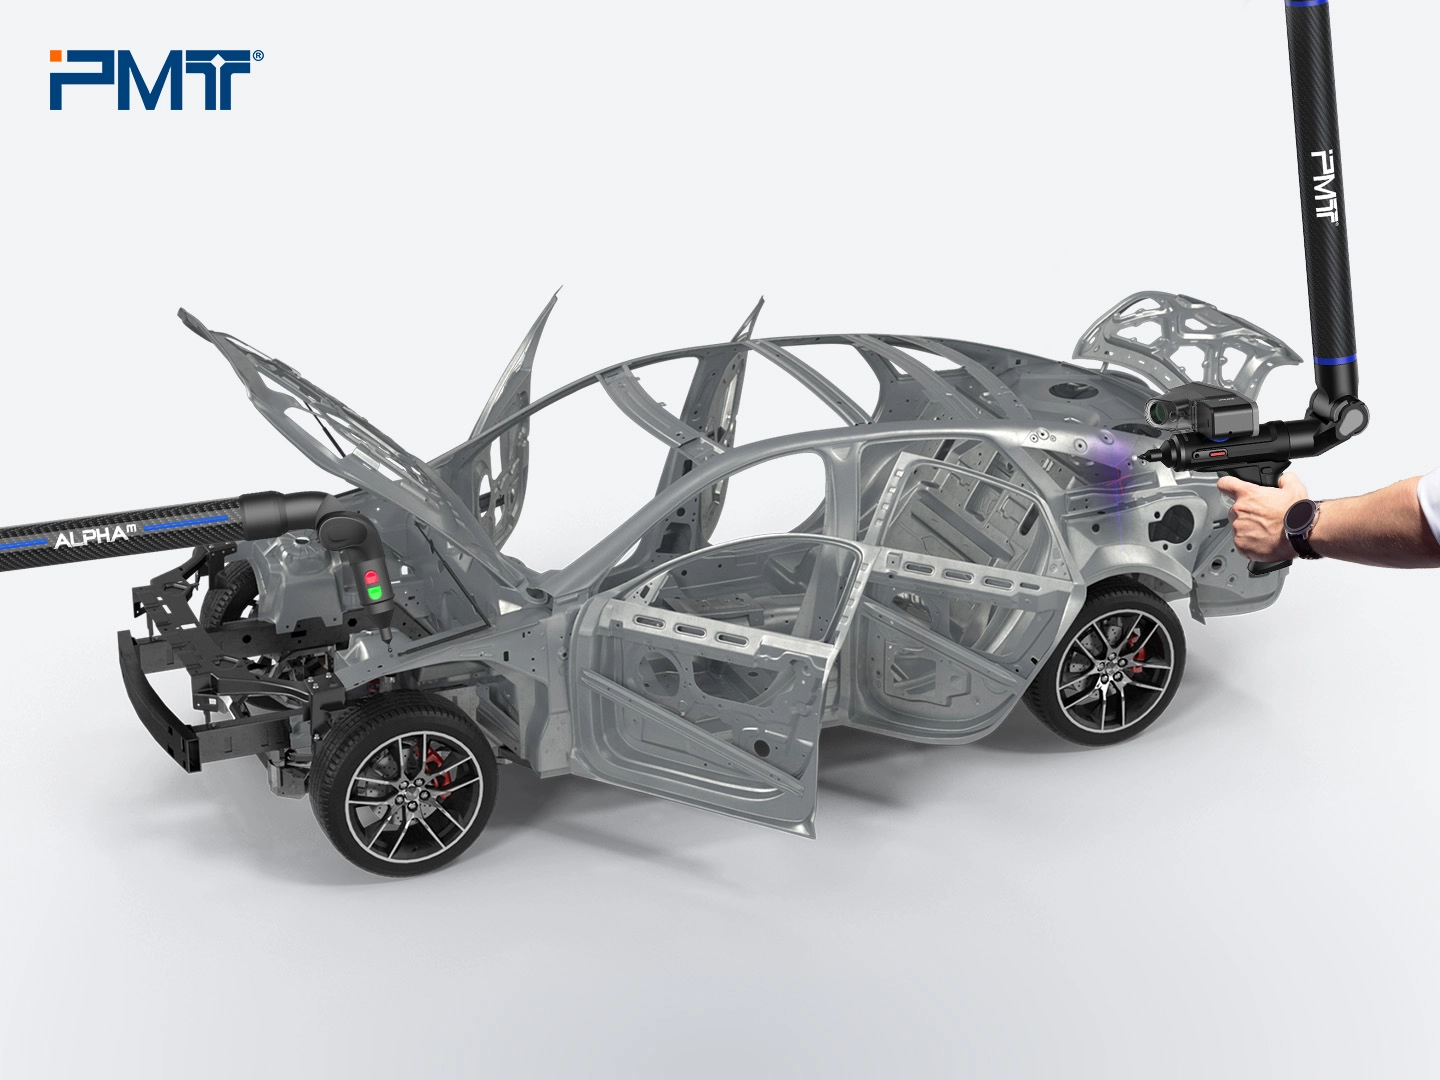
In non-contact measurement, laser measuring arms are used to capture data without physically touching the part. This method is much faster and can collect a large amount of data points in a short time. It is especially effective for measuring complex surfaces, fragile components, or soft materials that might be damaged by direct contact. Non-contact measurement is also widely used in digital modeling, reverse engineering, and quality inspection of free-form surfaces.
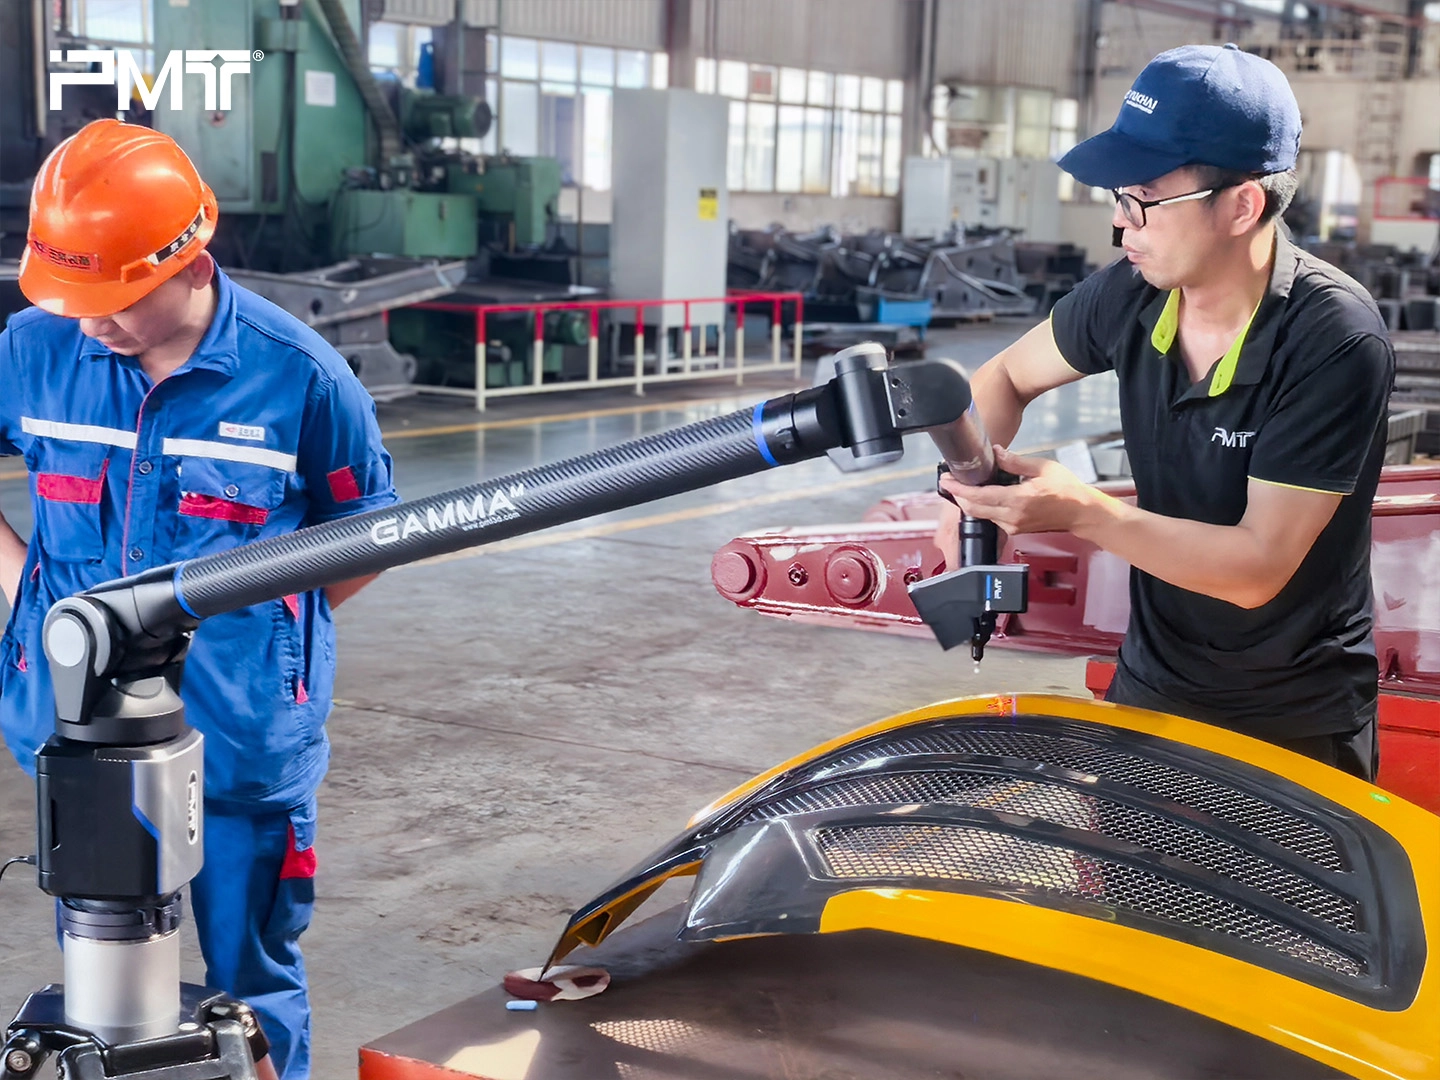
Measuring Arm VS. Scanner for Measuring Arm
When comparing accuracy, contact measurement usually provides the highest precision, making it suitable for critical applications that require tight tolerances. Non-contact systems, while slightly less accurate in some cases, are much faster and can handle large volumes of measurement data.
For example, a portable measuring arm with a probe may take time to check each point, whereas a laser scanner can capture thousands of points instantly. Companies often balance precision and efficiency depending on their needs.
| VS | Measuring Arm | SCANNER for Measuring Arm |
| Basic Principle | Touch the probe to the part surface, acquire each points’ 3D coordinates with axis encoders. | Laser projects onto surface; sensor captures reflected light to collect dense point cloud. |
| Measurement Accuracy | 0.12-0.55mm | 0.024-0.101mm |
| Measurement Speed | High, caution with curved and soft surfaces | Extremely high, capture 1,200,000 points/sec |
| Measurement Object | Regular features: holes, cylinders, planes, slots | Complex free-form surfaces, irregular shapes, soft/deformable objects: rubber parts, clay models |
| Impact on workpiece | Contact – low force with zircon probe | Non-Contact – zero force, no risk of surface damage |
| Application | Quality Inspection&Control:
machined parts, gears, bearings, fixtures, gauges; GD&T Report Generation. |
Reverse Engineering:
Digitizing parts without CAD models Inspection&Comparison: Sheet metal, sculptures, artifacts, automotive interiors; Digital Archiving. |
| Operation Difficulty | Easy, low training required | Easy, requires scan path planning & point cloud processing |
| Cost | Low | High |
| Environment Requirement | Temp: 5℃-45℃
RH: 0-95℃ |
Temp: 5℃-45℃
RH: 0-95℃ |
Choosing the Right Measurement Method
Different industries choose measurement methods based on their production demands. Except for specialized fields like cultural relics preservation, contact and non-contact measurement methods often overlap in application. The choice between them depends on factors such as material type, required accuracy, production speed, and cost efficiency. For industries that need detailed precision checks, contact measurement remains the first choice. Conversely, for applications involving complex geometries or rapid inspections, non-contact methods provide significant advantages.
In many modern factories, a combination of both methods ensures the best balance of accuracy, speed, and flexibility.
Conclusion
In summary, the main differences between contact and non-contact measurement methods lie in their working principle, accuracy, speed, and applications. Contact methods provide unmatched precision, while non-contact methods offer speed and adaptability. Both play an important role in modern industry, and using them effectively ensures high-quality production and process efficiency.
